Introduction
⚠️ This feature is in preview at the time of writing
Artificial Intelligence is no longer a future capability in SharePoint—it’s already here, and it’s deeply integrated with the modern Microsoft 365 experience. With the introduction of Knowledge Agents, organisations can unlock contextual insights, automate knowledge discovery, and dramatically improve how users interact with content.
In this post, we’ll walk through how to enable SharePoint AI on your tenant and what prerequisites you need.
Before covering the required steps, let me briefly cover what SharePoint AI enables on SPO. It introduces intelligent agents that can understand and interact with your content. These agents can:
- Answer questions based on SharePoint Online sites and documents
- Summarize pages and libraries
- Assist users with contextual knowledge retrieval
- Allow AI assisted document library column generation
Each SharePoint Online site even comes with a ready-made agent scoped to its content, and you can also build custom agents tailored to specific business needs!
Prerequisites
To enable SharePoint AI on your tenant there are three main prerequisites:
- Microsoft 365 Copilot license: users must have an active license to use AI capabilities in SharePoint Online.
- At the moment, the tenant must be opted-in in order to enable the AI capabilities, by default this is disabled.
- Enable Anthropic as AI provider.
Steps
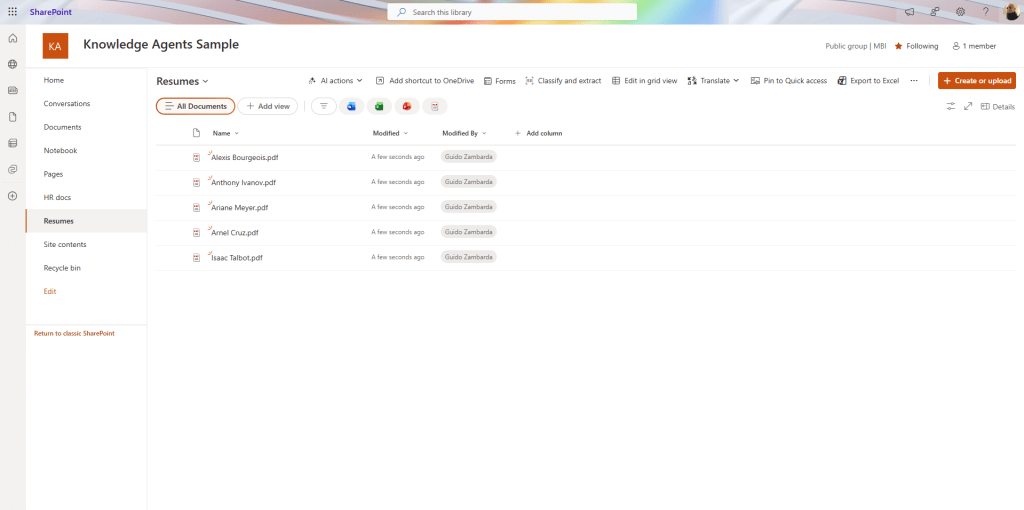
Starting from a newly created SharePoint Online site, you can see that there is nothing regarding AI in here:
To enable AI features, you will first need to opt-in as currently the option is turned off on all tenants. To do that you will need a SharePoint Administrator or a Global Administrator to execute a PowerShell command.
Opt-in to AI in SharePoint Online
Note: use Windows PowerShell for the following operations
In order to opt-in you will first need to install or update the module: Microsoft.Online.SharePoint.PowerShell
After installation, you can use the module to perform the opt-in for all sites or for specific sites.
To execute the following commands, you will need to first connect to the SharePoint admin URL:
Connect-SPOService https://yourtenant-admin.sharepoint.com
Enable for all sites
To opt-in for all sites you have in your SharePoint tenant you can execute the following command:
Set-SPOTenant -KnowledgeAgentScope AllSites
After executing the above command, you can check the configuration of the tenant running the following command:
Get-SPOTenant | Select-Object KnowledgeAgentScope
Enable for selected sites
To enable SharePoint AI for a selected site, you can set the KnowledgeAgentScope to include the sites from a list:
Set-SPOTenant -KnowledgeAgentScope IncludeSelectedSites
To specify the sites to be included you can set the KnowledgeAgentSelectedSitesList parameter, in the following code example I am adding two different sites to the list of sites that will opt-in to SharePoint AI:
Set-SPOTenant -KnowledgeAgentSelectedSitesList @("https://yourtenant.sharepoint.com/sites/AwesomeSite", "https://yourtenant.sharepoint.com/sites/sampleSite02")
If you already executed the above command and need to append another site to the list of sites, you can set the KnowledgeAgentSelectedSitesListOperation parameter with the Append operation:
Set-SPOTenant -KnowledgeAgentSelectedSitesList @("https://yourtenant.sharepoint.com/sites/NewSite") -KnowledgeAgentSelectedSitesListOperation Append
Again, if you need to check that the values are correctly updated, you can execute the following command:
Get-SPOTenant | Select-Object KnowledgeAgentScope, KnowledgeAgentSelectedSitesList
Enable Anthropic AI provider
As last step, you need to enable Anthropic as Microsoft subprocessor.
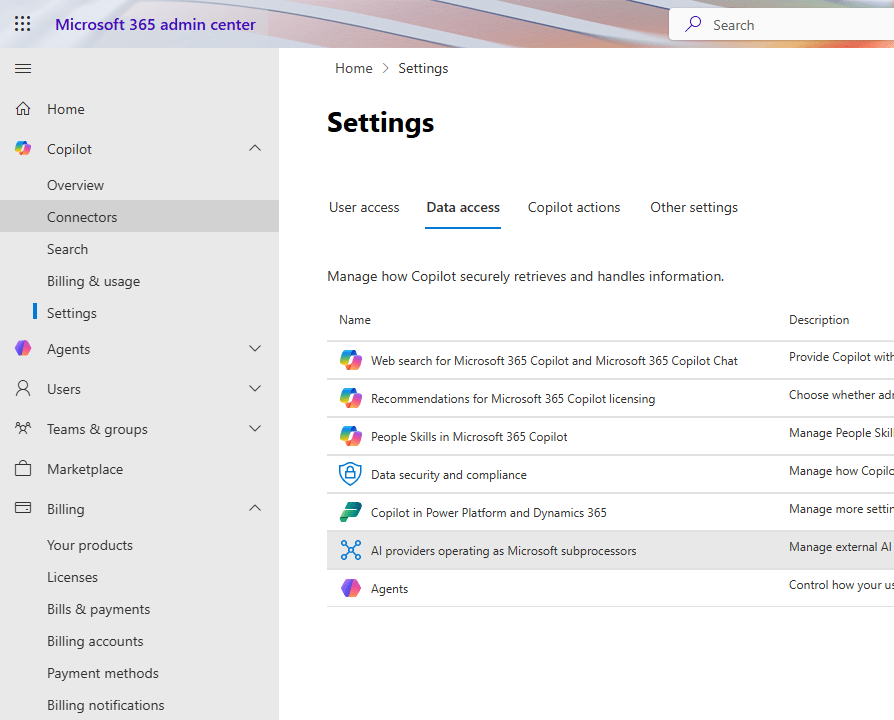
To do that, navigate to the Microsoft 365 admin center, open the Copilot section on the left, and then select Connectors, from here select the AI providers operating as Microsoft subprocessors:
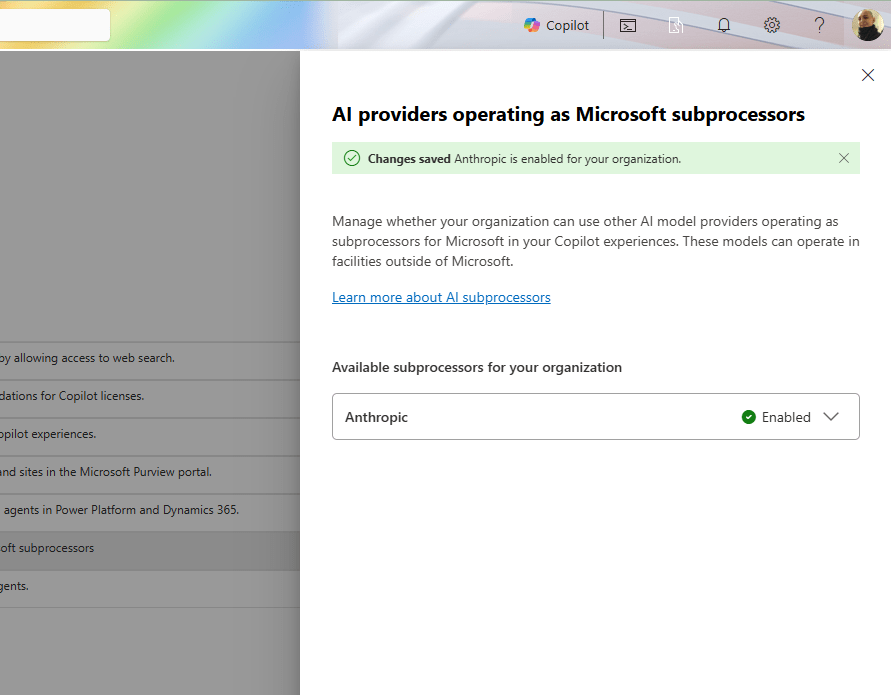
A panel will open on the right side of the page, where you can select Anthropic as the available subprocessor:
Enjoy!
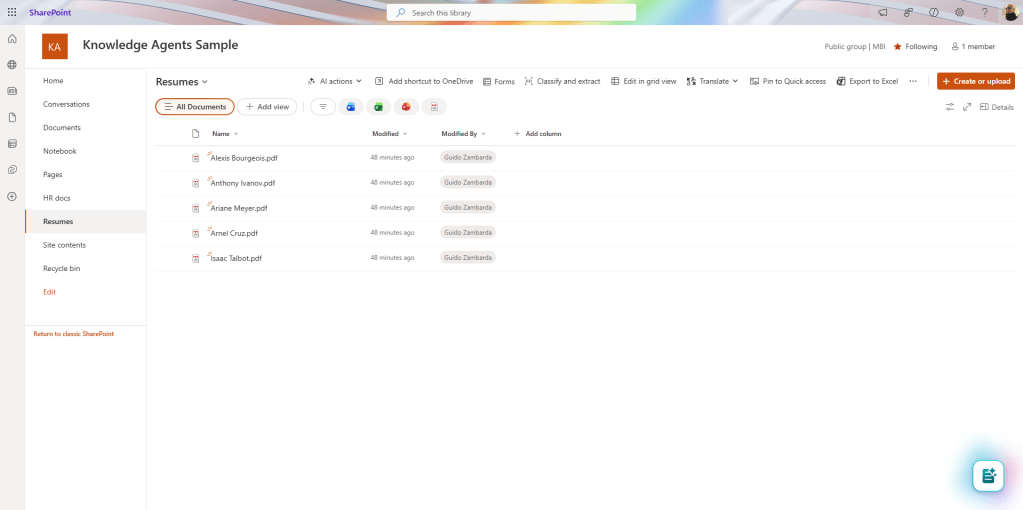
After performing the above tasks, if you return to the site (or sites) for which you have opted-in, you will see a new icon in the bottom right corner of the page:
From the new button you can perform multiple operations, to have an idea here is the menu and the various options available:
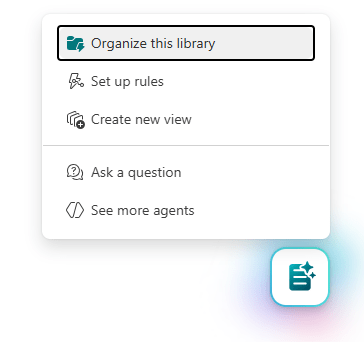
I won’t cover all the options in this blog post as it is focused only on how to enable SharePoint AI.
Conclusions
If you want to know more about how to get started with AI in SharePoint, have a look at the official documentation here.
AI in SharePoint is a very nice usage of AI, it allows various features that are quite powerful for users, if you want to know more about the capabilities have a look here.
Hope this helps!

