Introduction
Disclaimer: In this blog post I won’t cover the basics of creating a SharePoint Copilot app, if you’re interested in how to get started, have a look at my previous blog post here.
SharePoint Copilot app is in public preview at the time of writing, some things may change in the future.
When developing a SharePoint Copilot app you can leverage the integrated AI declarative agent in order to automatically populate the parameters of your React component.
In this blog post I want to focus on how to use and define those custom parameters, to do that I’ve created a sample solution that you can find here.
Visual appearance
As usual, let me start showing how the sample solution appears and to do that let’s start with a simple prompt targeting my custom agent:

This prompt is used by the agent to surface my custom solution component and providing values to the parameters supported by the custom form component:
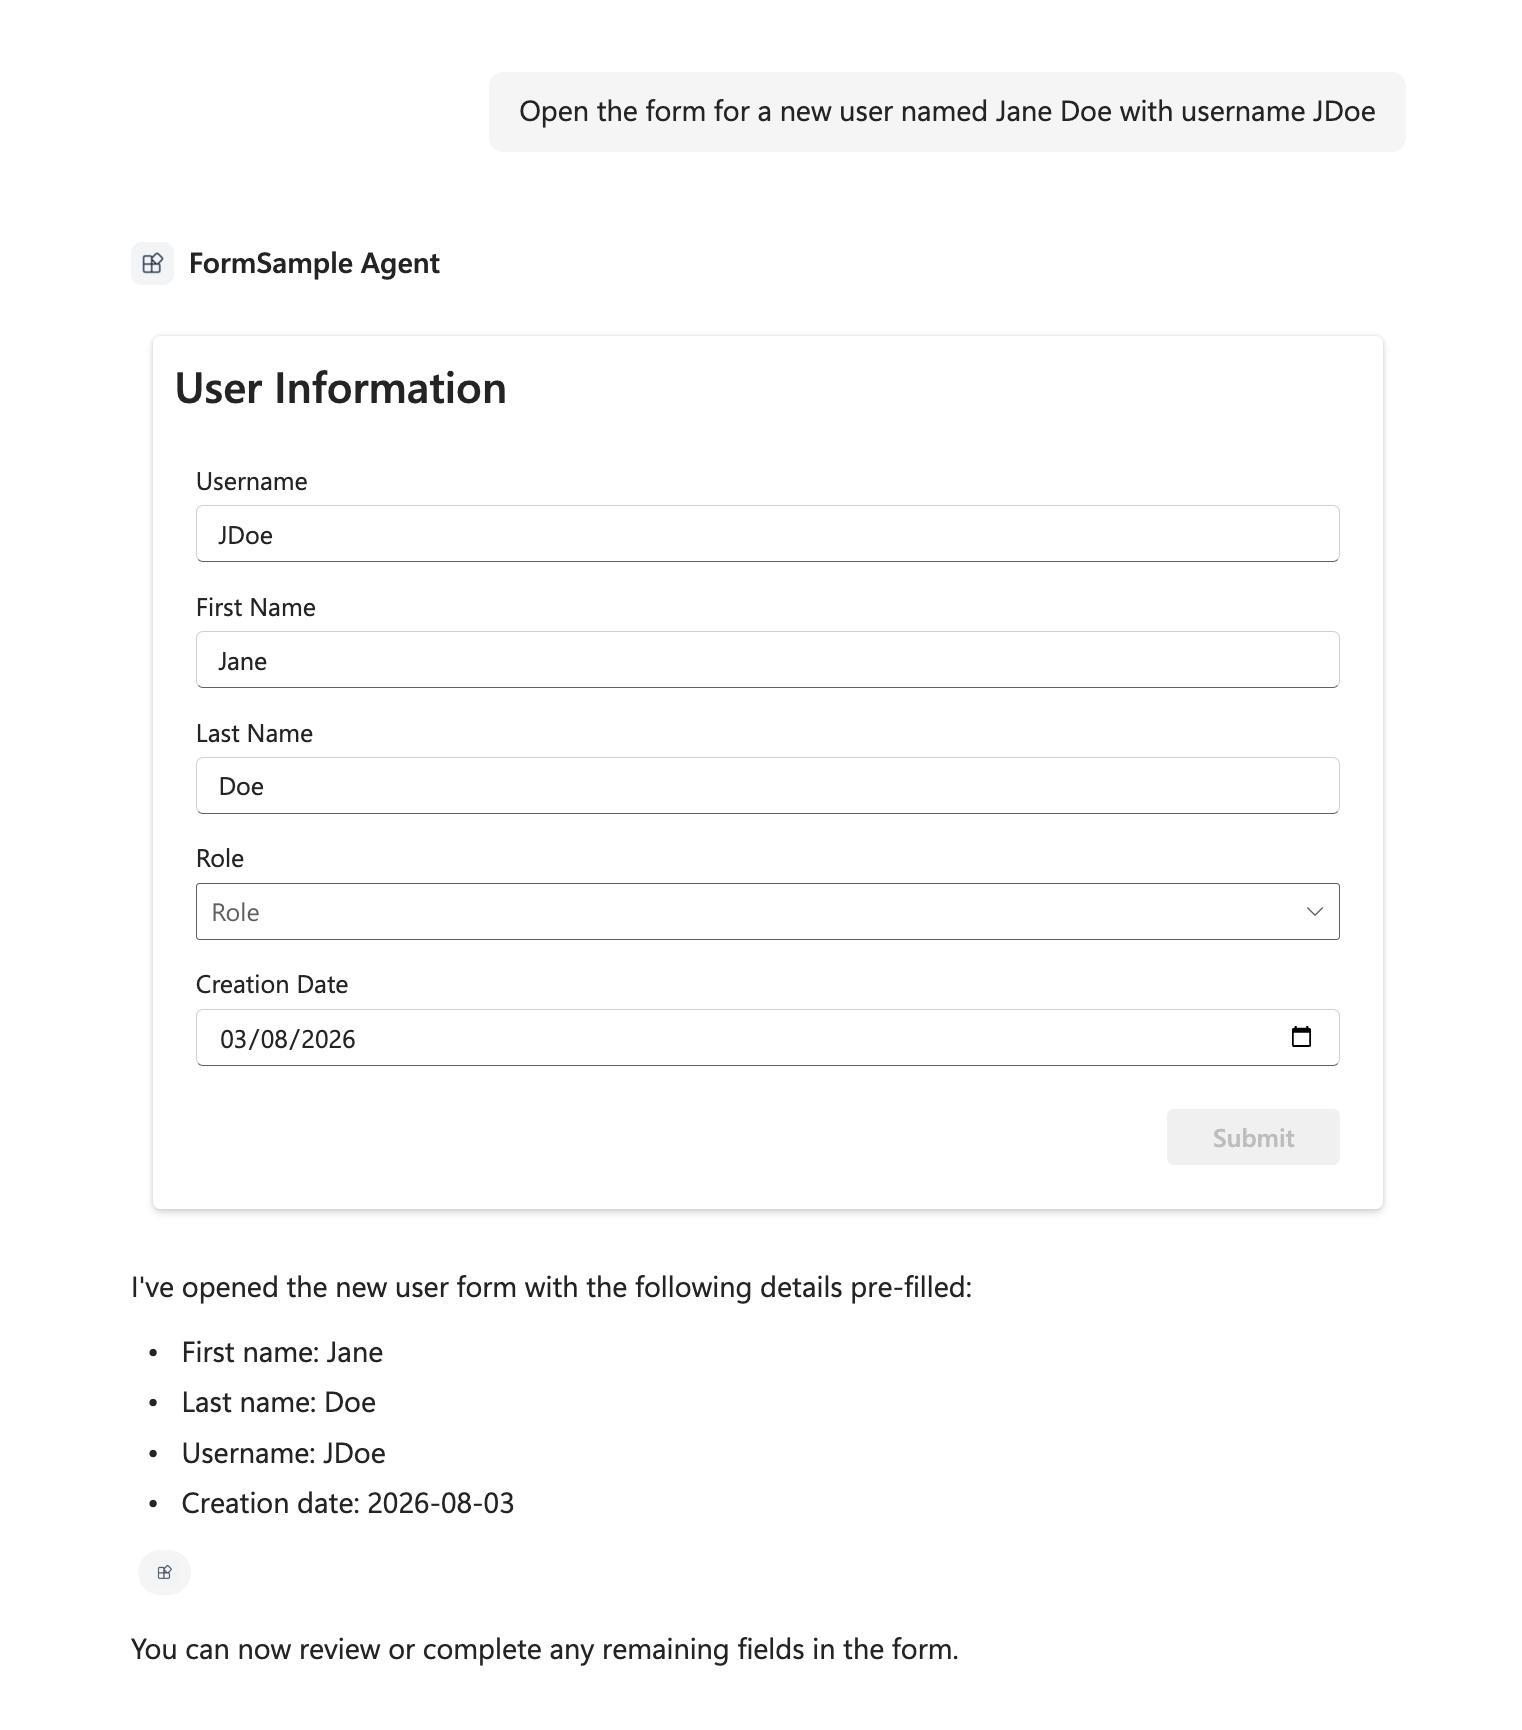
As you can see, I’ve specified the first name, last name, and username of the “new user” and the agent correctly populated those in my custom form, the only information missing is the role one:
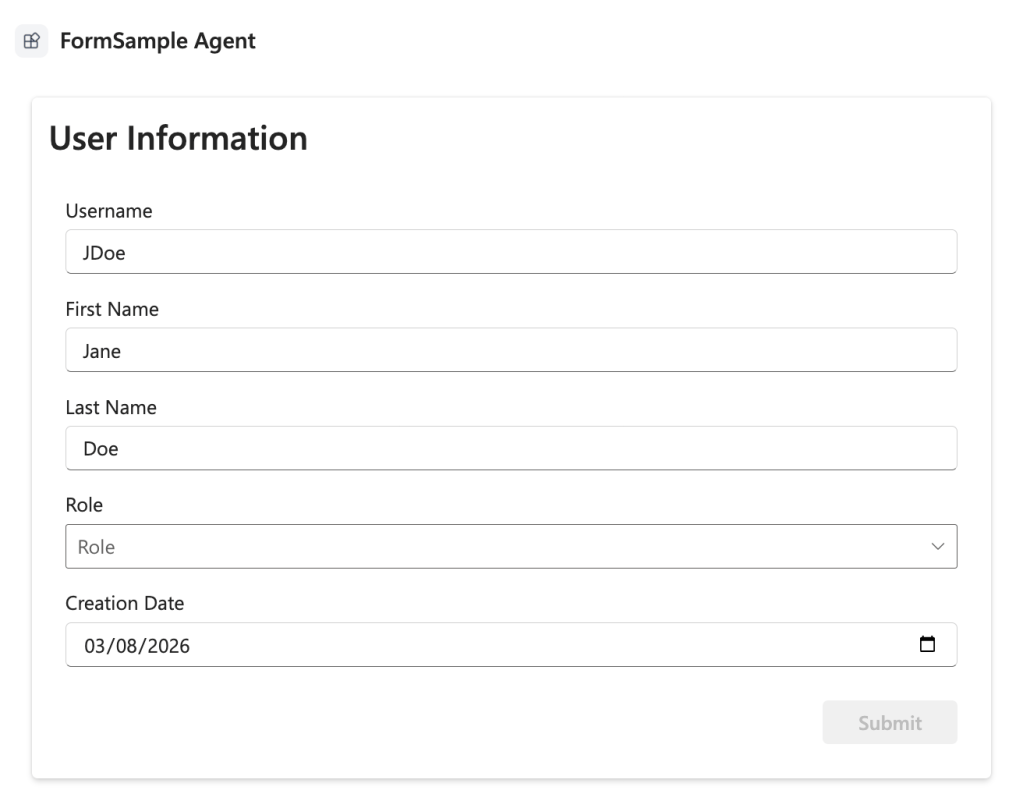
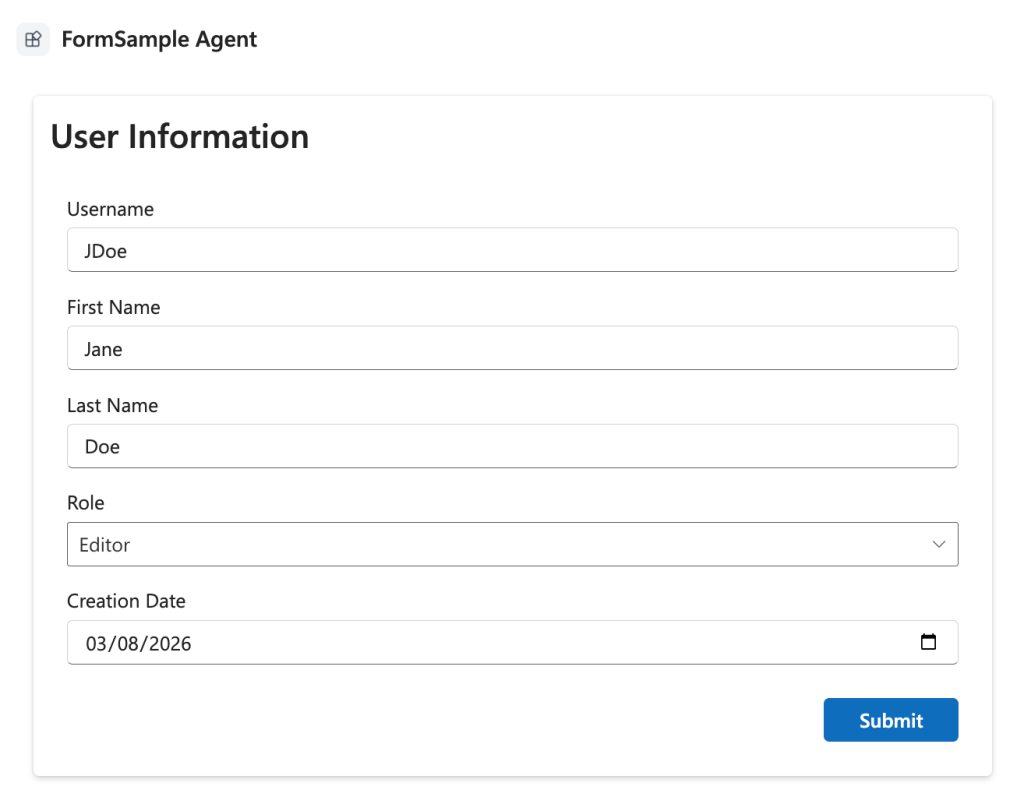
Once the role is specified, the Submit button will be enabled and allows the submission of the form:
Following you can see another prompt/response example, in this case I’ve specified only the username and role of the user:
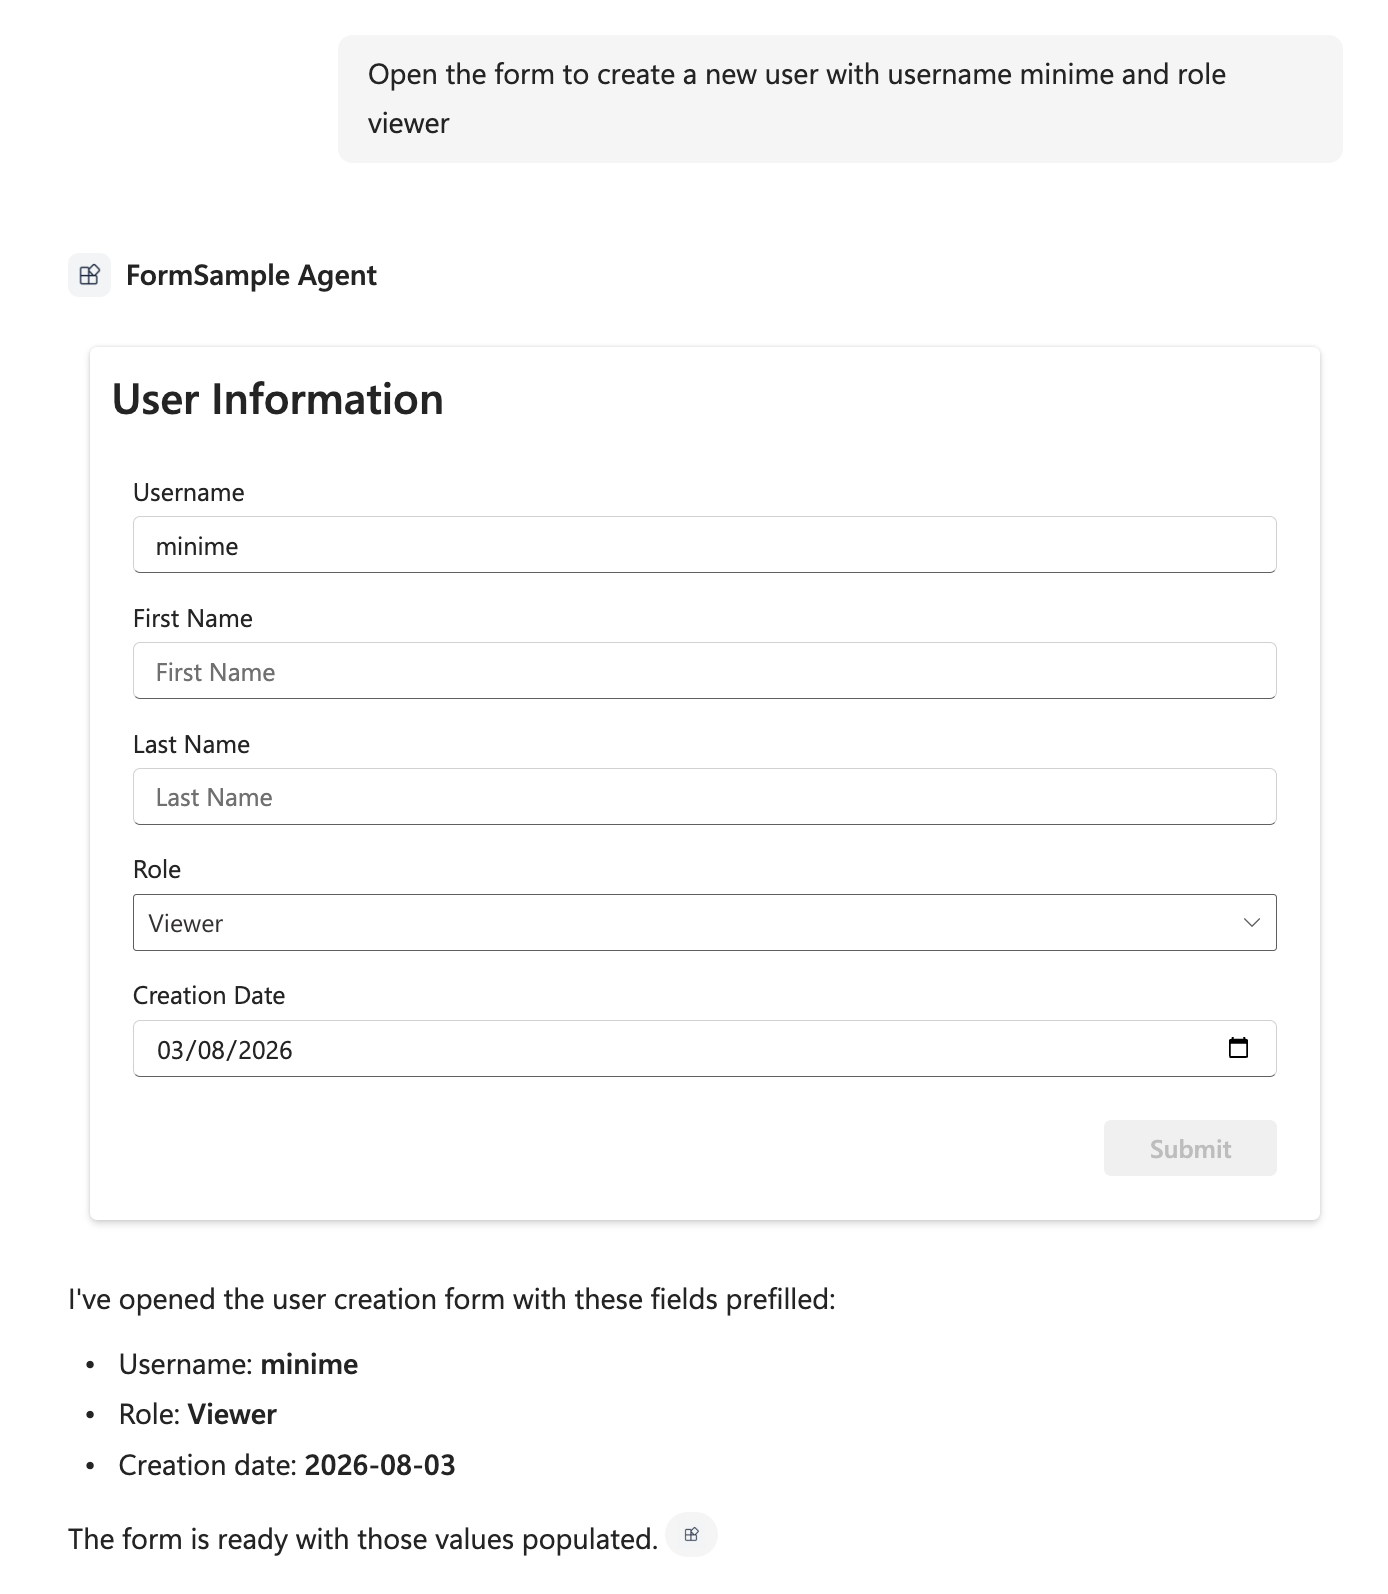
I didn’t specified the creation date but that, despite being a parameter too, is described as expecting today’s date so the declarative agent populate that without the user having to specify it. Cool, isn’t it?
Show me the code
Adding new parameters to the solution is simply and straightforward, but before entering the details let’s cover briefly a core concept here: parameters are the tool arguments.
When you’re creating a SharePoint Copilot app you are defining a customizable declarative agent and a set of tools available to that agent. The tools you make available to the declarative agent are defined in the /config/copilot-agent.json file through the components property. The id(s) specified in the components property are the id(s) of the manifest.json of your component(s).
When you want to add a new tool parameter for a specific component, you only need to specify the new property defining it with Zod and then use it in your component.
For example, in my sample solution, I’ve created the following parameters:
usernamefirstNamelastNamerolecreationDate
Let’s see now how those are implemented!
First of all, we need to specify the new component properties, in my sample solution those are defined in the FormSampleCopilotComponentProperties.ts file which look like the following:
import { z } from 'zod';import zodToJsonSchema from 'zod-to-json-schema';const propertiesSchema = z.object({ username: z.string().optional() .describe("Username for the form"), firstName: z.string().optional() .describe("First name of the user"), lastName: z.string().optional() .describe("Last name of the user"), role: z.enum(["Admin", "Editor", "Viewer"]) .optional() .describe("Role of the user"), creationDate: z.string() .describe("Creation date for the user account, if not specified is the current date"),});export type IFormSampleCopilotComponentProperties = z.infer<typeof propertiesSchema>;export default zodToJsonSchema(propertiesSchema);
As you can see in the above code snippet, each of the new parameter is defined with the type, if it’s optional, and with a description.
While the type and optionality are straightforward, the describe method serves the declarative agent (included in the solution) to understand what those parameters represent.
For example, the creationDate description reads:
Creation date for the user account,if not specified is the current date
This helps the declarative agent understanding that, if the user doesn’t specify a creation date, it should populate the parameter with today’s date.
After defining the component properties, we should update the React control’s property. Sticking to my sample solution, the next step is to update the IFormSampleProps.ts file adding the new properties:
export interface IFormSampleProps { // ...omitted default template properties... /** Username for the form (optional). */ username?: string; /** First name of the user (optional). */ firstName?: string; /** Last name of the user (optional). */ lastName?: string; /** Role of the user (optional). */ role?: "Admin" | "Editor" | "Viewer" | undefined; /** Creation date for the user account (optional). */ creationDate?: string;}
Then we need to tell our component what’s the mapping between the component’s properties and the React control’s properties. In my sample solution this is achieved setting the React component’s properties in the FormSampleCopilotComponent.tsx with the component’s properties:
protected render(): void { const props: IFormSampleProps = { // ...omitted default template values... username: this.properties.username, firstName: this.properties.firstName, lastName: this.properties.lastName, role: this.properties.role, creationDate: this.properties.creationDate }; ReactDOM.render(React.createElement(FormSample, props), this.context.domElement); }
Finally, it’s time to use our new properties in the React component. In my sample solution, inside the FormSample.tsx file, I simply retrieve the React component’s properties to be used:
export default function FormSample(props: IFormSampleProps): React.ReactElement { const { // ...omitted default template values... username: initialUsername, firstName: initialFirstName, lastName: initialLastName, role: initialRole, creationDate: initialCreationDate } = props;
And from here you can simply use your new properties populated by the declarative agent!
Conclusions
The new SharePoint Copilot apps are really easy to extend and are an awesome addition to us developers to integrate Copilot in our SharePoint Framework projects without having to rewrite everything from scratch.
If you want to know more you can find the official documentation here.
Hope this helps!


